Club project - shop box

Club project - shop box

Sunday 21 October 2012

Lights in the window...

Finally I've made a little bit of progress on the boxfile. The LED lights are in and the candles are on the ledge behind the door. IThe door opens out as it couldn't be opened more than about quarter way the other way round, so even a very small person couldn't possibly walk through. Rather than change the box, the easy way out was reversing the door! It does mean that there need to be steps up to the door...

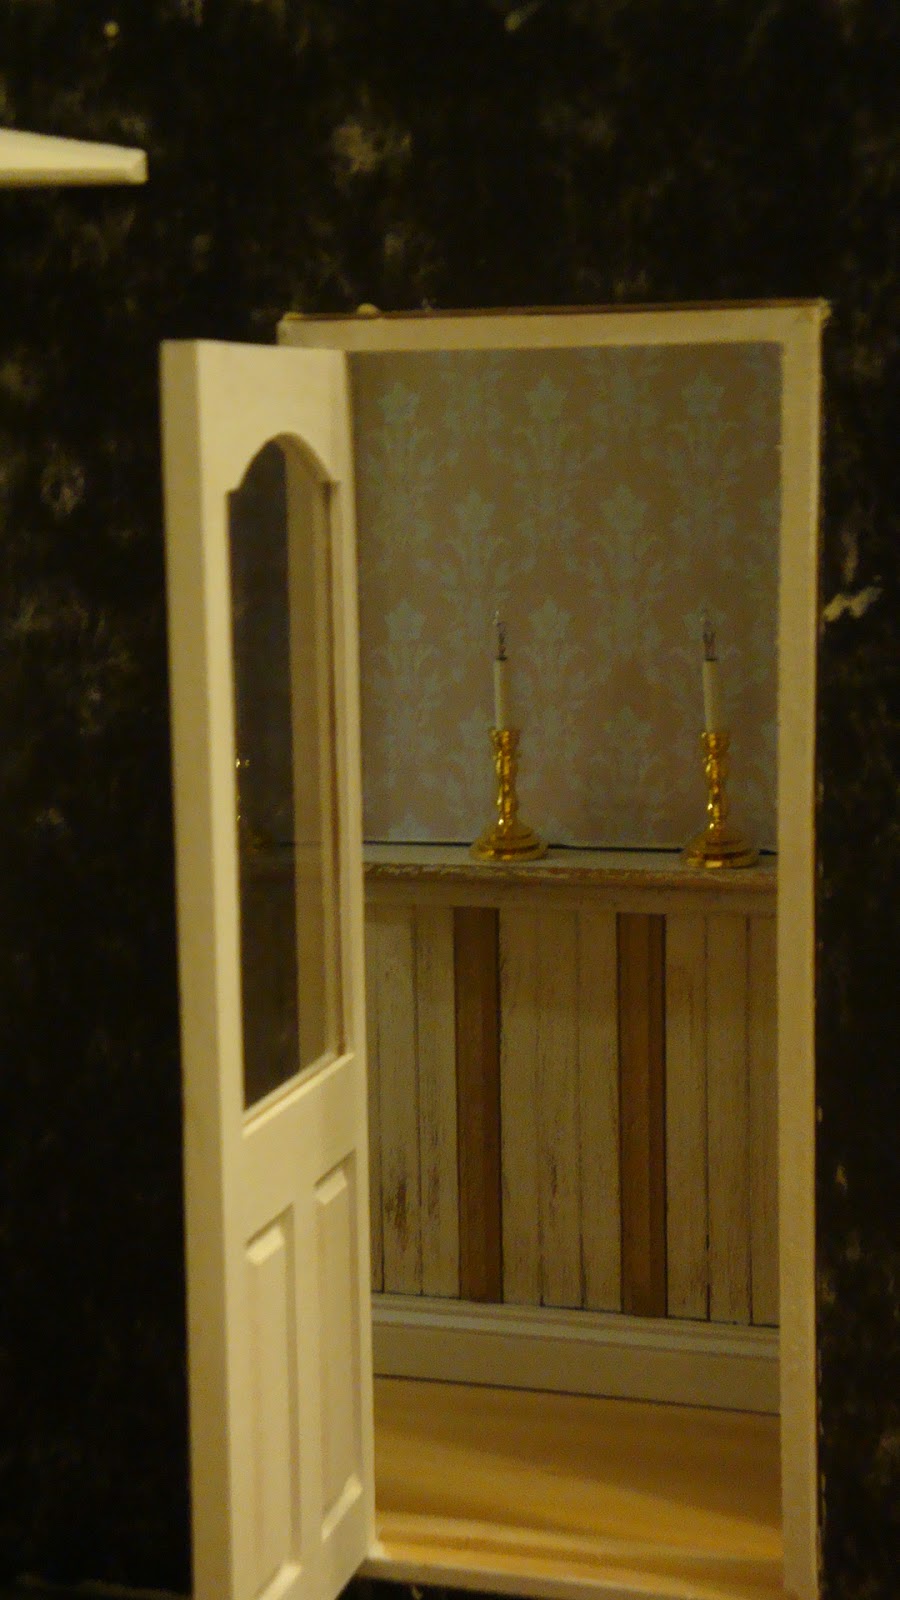
The candles will be powered from an old telephone charger directly behind the wall, it will also power another 2 wall lights on the left hand side wall and possibly a ceiling light.
You probably can't tell all that well that the LED lights are on, but I'm sure once there is something in the window it will be perfect.
The battery holder is hidden under the window sill, held there with a small bit of wood. The switch is in the far window frame and will be hidden behind a strip of fabric. The gap above the bit of wood is wide enough to pull the battery holder out to change the battery.
With the battery holder covered up (sort of). I still need something to finish off the LED lights as they look wrong when they aren't on - they're yellow. The washers I have are about 1cm diameter and that is way too big. The LEDs are less than 2mm square. I like them as spotlights in the window though!

Happy mini-time,   Idske


Wednesday 17 October 2012

Finished? ...

Just an update on the tulip vase. I've added all of the spouts and scrolls and a skirt just above the feet. Not so sure about the top on the photo, could be the angle, as I was really please with it when I left the pottery class. If I still don't like it next week I can still just make another one or two.
sorry about the quality it's from my phone as the normal camera ran out of battery !
 There are examples of these tops with obelisks, heads/busts, very short stoppers or another minute pot for a single flower. I might just make a few to see what works best...

Idske

Thursday 11 October 2012

Tulip vase and embroidery

In the previous post, I forgot to ask if anyone knows whether to fire the little pots separately or join them all up now and fire as one. There are lots of holes in it, so that doesn't have to be the deciding factor and I can't think of what is.  Does anyone have any idea?


Elga, you were right, all this ivory background on the Japanese style rug is sooooo boring.  I can only cope with about half an hour per evening, but even so I will eventually get there, haha...  It's very tempting to just do the edges and the branches in the middle. But the thought of then only being left with all of this ivory background stitching, keeps me on track.

Tomorrow I'll be taking it to our knitting circle - where only a few of us actually knit, others embroider, crochet, quilt, any sort of craft will do, that and a willingness to talk about just about anything, whilst eating cakes and drinking tea, hot chocolate or cappucinos.  I've taken part finished miniature luggage along before and no-one thought anything of it!  Lots of suggestions for improvements, though, including some ludicrous ones!


The hunting scene is nearly finished and then I'll be making the frame for it, either in mahogany or walnut, that is, when I have the time for it....


Happy mini-time,    Idske

Tuesday 9 October 2012

Tulip vase or Tulip vases?

I've just come back from the pottery class completely exhausted, but reasonably happy with the result. No glazing as yet as that is done just before there is a firing and let's face it my little pots aren't going to decide when that is!

Remember this?


Is  now this..


I suppose it's about half way, as it still needs the spouts on the top pot, some decoration on the base of the obelisk so it will stay in place and scrolls on the corners of the base pot, probably a touch bigger that the one I tried out on the left hand corner. You'll have to enlarge the photo to see it. I have to keep reminding myself that it will shrink about 10-15% on the first firing.

Happy mini-time,   Idske

Tuesday 2 October 2012

Bisque firing and slip casting

The pottery class was great as usual, lots of talk about this and that and everybody working on their own pieces. This is the result of the bisque firing of the little pots I made on the potters wheel a couple of weeks ago. 

The rather big one at the front is a failure that has been fired anyway to be a tester for glazes. It is not only far too big, but it has also sagged around the base so it looks a bit like a beer belly over a very tight belt.  In short it looks weird.  The rest I'm quite proud of, as most of them are actually round and you have no idea how difficult it is to keep them that way after they are off the wheel!   I will be glazing some of them and decorating a few for the Japanese room.

Then came slip casting with the moulds for the tulip vase. These are the resulting pots on top of the moulds, they still need a lot of work before I can stack them.  The biggest pot on the left is by far the best shape.


The photo below shows the way a mould is supposed to drain into the pot of slip clay. That just didn't happen and it was quite a job to get the slip drained. 
Doesn't look like much but there really is a square base pot in this mould!
I will be casting another lot of pots using more diluted slip and enlarging the hole in the mould to make it drain better. The tops of the pots need bigger holes anyway to stack them properly.  That will then give me a few versions to experiment with. Then again, I might totally change my mind and keep them all as separate pots, who knows?

Happy mini-time,  Idske xx


Monday 1 October 2012

New rug!

I haven't embroidered a rug for a few years, or even more than a few years... But I've started the Japanese style rug. I'm not sure why it's on it's side, but that's blogger for you or my lack of a wish to fight it...

I changed my mind about the blue and started again, unpicking was just not an option and I still have plenty of this fabric. This colour combination is much better! Working top down from left to right works for me to avoid handling the cream background too much.


And then I started the branch in the top right hand corner. Is it too dark? It's still easy to remove, but I need to decide before I go much further. . .
Decisions, decisions...

So far approx 3700 cross stitches in 32.5 hours on 32 count fabric, finished size 15x20cm. Without too much unpicking, it should take about 400 hours, I wonder over how many months... 

Happy mini-time,   Idske